Week 3: Defeating MAC address filtering
This week we want to achieve:
- Defeating MAC address filtering
Background
What is a MAC Address?
Every device that can connect to the internet is given a unique permanent address when it was manufactured from the factory.
These addresses are used to identify specific devices on the network even if they change network connections from one network connection to another. For example, if you disconnect from your mobile hotspot and connect to your home WiFi network.
A great video that I found helpful in understanding Mac addresses can be found hear
https://www.youtube.com/watch?v=UrG7RTWIJak
This is an example of what a MAC address looks like:
0D-14-22-01-23-45
Blue Team
Securing the Wi-Fi system using MAC Address filtering
We can secure the Wi-Fi by preventing or allowing connections based on MAC addresses.
We can achieve this by using a:
- Black list to prevent specific MAC addresses from connecting to the network
- White list to allow specific MAC addresses to connect
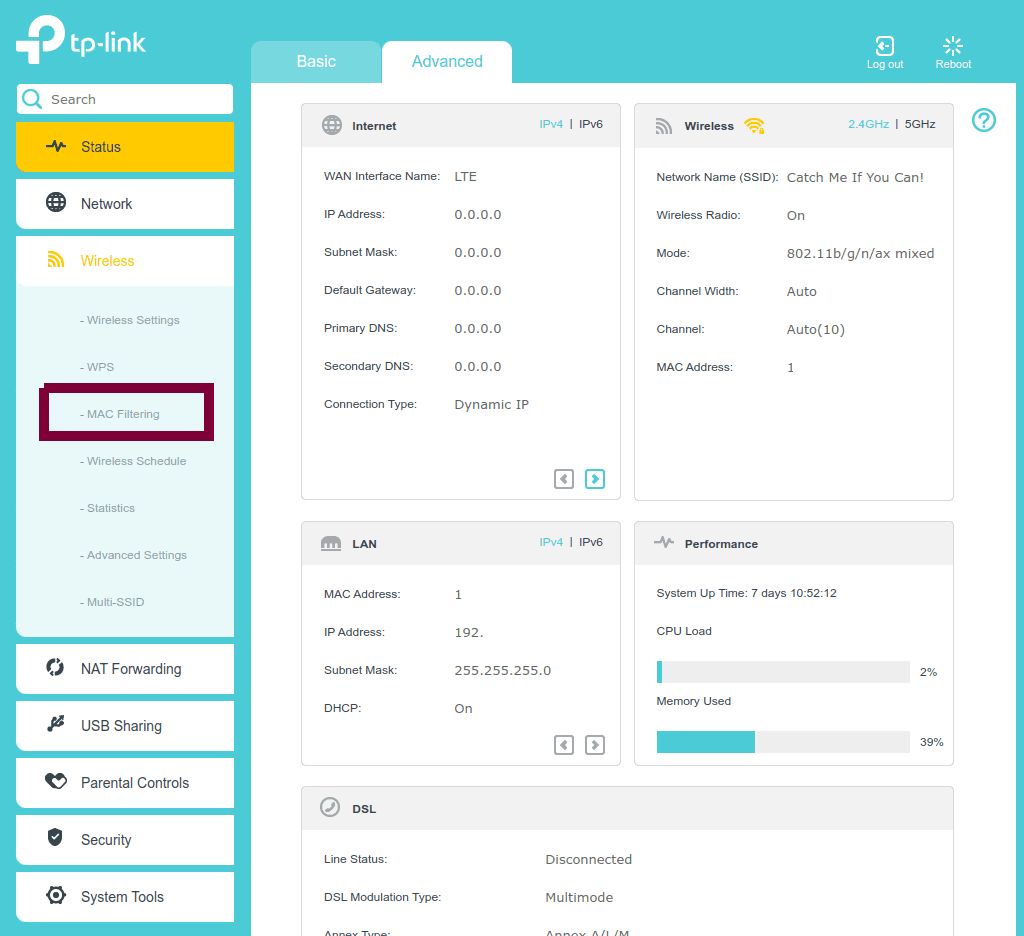
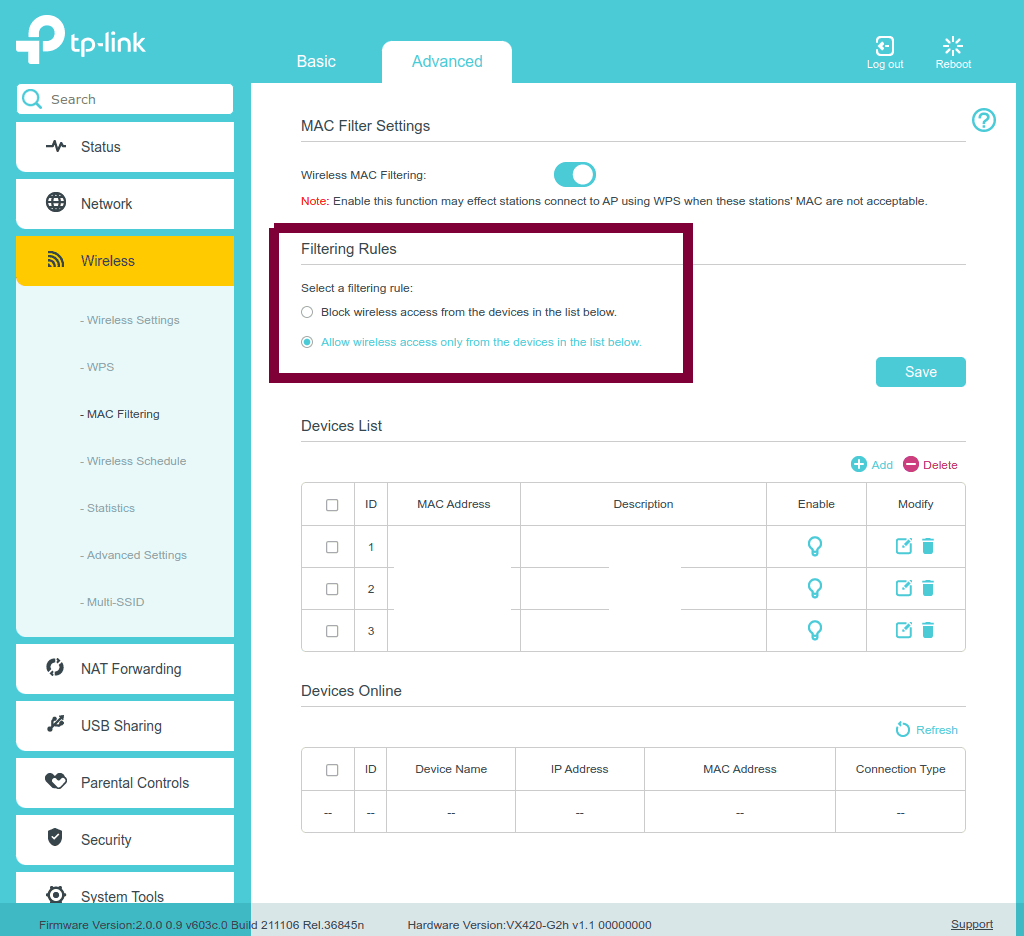
You can find this feature in the admin page of your router:

For this model, there is a section titled “Filtering Rules” which gives us the ability to switch the filtering type between Black or White list modes.

MAC Address Black List
This mode is based on the blanket rule where all MAC addresses are allowed to connect except specific ones.
One use case is a Wi-Fi network in a cafe where customers are allowed to connect their devices in general, but they want to prevent some known devices that abuse the system. This could be because of something as benign as hogging up the network by downloading HD media or it could be more serious like stopping known nefarious bad actors.
MAC Address White List
This mode is the opposite, where the default rule is to prevent any connections except for approved MAC addresses.
A use case here is securing your home network where you have a list of known devices:
- Your phone
- Your laptop
- Your Amazon Echo
- Your smart fridge
- etc…
Now that we’ve set up the defences, let’s see what we can do.
Red Team
The Goal
Our aim for this task is to connect to the Wi-Fi network despite being identified as a bad MAC address.
The Attack
MAC Spoofing
Theoretically, if all devices are working as intended, this kind of security measure should work in segregating unwanted devices from the network.
However, the way the software accesses the MAC address numbers hard coded on the device is retrieved through software called drivers.
Of the many tasks that these drivers can do, one of these is to read the numbers from the hardware and supply that to whatever program desires this.
The term spoofing is a tech term to mean “fake”. This could be faking an email’s sender address or, in our case, a MAC address.
Without going into too much technical depth, short circuiting the the driver code to return a doctored result would give us the effect of spoofing the device’s MAC address.
We will utilise a Kali Linux program built for this purpose: macchanger
Getting a valid MAC address
Patiently Waiting
For this week’s task, I built on what I’d learned from last week’s PCP task - how to listen out for specific messages between a router and a device.
Seeing a device send out both probe requests and receiving a probe response indicates that an existing connection has been made so we can use this to identify it as a whitelisted target.
Forcing Deauthentication
Sometimes it’s not optimal to spend a long time waiting for the connection event in the previous strategy.
This week, I learned and applied a new type of attack: forced deauthentication.
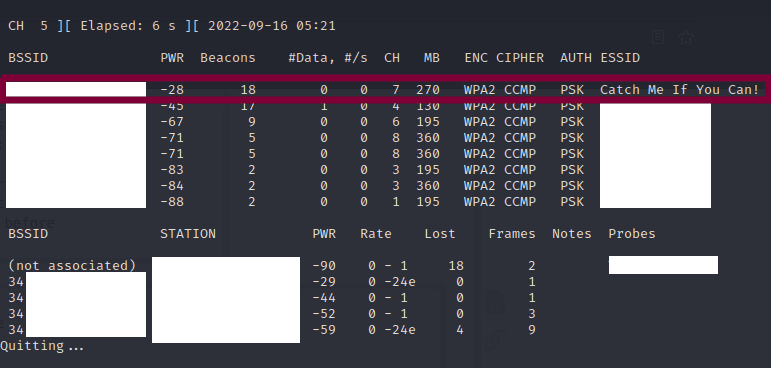
Start by identifying the MAC address of the modem to attack.
We’ve covered this before in Week 1 and 2.
As a recap:
- Run
airomon-ngto turn on the wireless adapter - Run
airodump-ngto retrieve the target AP’s MAC address
I had used Wireshark before to discover the Beacon Frames when trying to discover hidden SSIDs
This time we can use Wireshark to identify MAC addresses of devices that are already connected to the AP. We do this by identifying data being sent to the desired AP.

Because we filtered for packets that have a destination address of our target AP, any of the MAC addresses we find in the source address column will work.
Aireplay-ng is a tool on Kali Linux we can use to run a deauthentication attack by executing this command:
aireplay-ng -0 1 -a xx:xx:xx:xx:xx:xx -c yy:yy:yy:yy:yy:yy wlan0
0arms deauthentication attack mode1is the number of deauths to send; use 0 for infinite deauthsa xx:xx:xx:xx:xx:xxis the AP (access point) MAC (Media Access Control) addressc yy:yy:yy:yy:yy:yyis the target client MAC address; omit to deauthenticate all clients on APwlan0is the NIC (Network Interface Card)
Excerpt Source: Wikipedia
By running this command, we are able to disconnect the device and steal it’s identity.
MAC Spoofing: Identity Theft
Now that we have a valid MAC address that we want to pose as, we will use macchanger to temporarily fake our Raspberry Pi’s MAC address.
MacChanger is a Linux tool that you’d normally have to install. However, on Kali Linux, it is already pre-installed.
We can change the MAC address using the code below:
1. sudo ifconfig wlan0 down
2. sudo macchanger -m 01:23:45:67:aa:ff eth1
3. sudo ifconfig wlan0 up
What do these lines of code do?
- Turn off the wireless card
- Change the MAC address of the wireless card
- Turn the wireless card back on
Connect
Now that we have the MAC address changed and we have deauthorised the device we are posing as, we can connect to the network.
In the event that we don’t have the password, we would need to somehow acquire the password, either by bruteforcing or other means.
Cracking the network password is outside the scope of my task as we’d just want to thwart the MAC filtering feature.
Showcase Time!
Given that we have the network password, we will be able to connect to the network.
Success!
